Start with a specific person, task and obstacle. Build the smallest prototype that can answer a useful question, observe an appropriate user task and explain what changed. A working demo alone does not establish demand, accessibility or real-world success.
The Demo Works. What Is It For?
You have built a page, connected a form and made a button do something satisfying. Now someone asks who would use it. Your answer sounds much less finished than the screen.
That is a useful moment in a student project. No-code tools can make it tempting to start with the things you can assemble: a dashboard, booking page or automated reminder. The harder question is whether the result helps somebody do something they already care about.
Before adding another feature, write one sentence naming the person, the task and the obstacle. If you cannot make that sentence specific, the next useful step may involve a conversation or a paper sketch rather than another hour inside the builder.
Describe The Problem Without Naming Your App
Try completing this sentence: someone needs to do something, but a particular difficulty gets in the way. Leave out the proposed technology. This makes room for an answer that differs from your original idea.
Imagine a student proposing a club-booking app. That is our hypothetical example. The underlying problem might be uncertainty about where a club meets, confusion about permission or difficulty finding available spaces. Each would suggest a different intervention.
Write down what you know and what you are guessing. You may have experienced the difficulty yourself, but that does not establish how other people encounter it. A clearly labelled assumption gives you something to investigate instead of quietly becoming a fact in the project description.
Find Out What Happens Now
GOV.UK’s user-research guidance recommends understanding who users are, what they are trying to do, how they currently do it and what problems they experience. Although written for public services, those questions offer a useful starting point for a small student project.
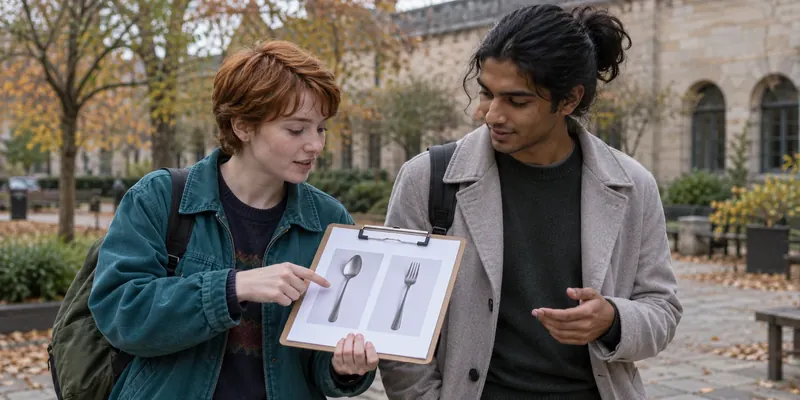
Ask someone appropriate to describe a recent attempt at the task. What did they do first? Where did they look for information? Which step took effort? Keep the conversation about their experience before showing your proposed solution.
For a school project, agree the activity with a teacher and keep it proportionate. Avoid collecting sensitive details or unnecessary personal information. You can record general observations about the process without building a file of identifiable classmates or publishing their messages.
A Compliment Is Different From A Completed Task
Someone saying your design looks good can be encouraging. It does not tell you whether they can use it to achieve the intended goal. Separate feedback on appearance from evidence about the task.
For the club example, a useful question might be whether a person can find the meeting place and identify what to do next. Do not tell them which button to press and then describe the result as independent success. Record where they hesitate and what information they look for.
Keep the claim small. One informal session can reveal a confusing label or a missing instruction. It cannot demonstrate that all students need the product, that the school will adopt it or that it will become a business.
Build The Smallest Thing That Answers A Question
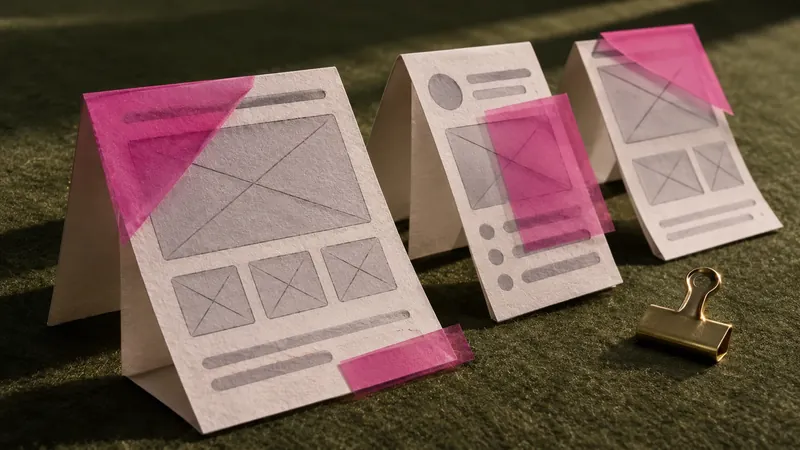
GOV.UK’s prototyping guidance describes a range from pen-and-paper sketches to interactive prototypes, used to explore designs before committing to a full service. The choice should follow what you need to learn.
If your question concerns the order of information, three paper screens may be enough. If it concerns a sequence of interactions, a clickable mock-up may be more useful. Choose the lightest version that lets you observe the relevant difficulty.
A polished interface can make unfinished decisions harder to notice. Give yourself permission to discard a screen. Changing the design after learning something is a meaningful project result, even when the final version has fewer features than the first.
Set A Boundary Around The First Version
Choose one user group and one task. For the imagined club tool, that could mean helping a prospective attendee find the next meeting details. Leave payments, attendance records, parent messaging and account creation outside the first experiment.
Write the exclusions in your private project plan so you remember why they are absent. The public screen should concentrate on what the person needs to do, rather than explain every feature you decided against building.
This boundary also helps you see dependencies. Who would keep the meeting details current? What happens when a session is cancelled? If the underlying information has no reliable owner, a more attractive page will not resolve that problem.
Choose Evidence Before You Run The Session
Decide what you want to notice before showing the prototype. You might record whether the person finds the relevant information, which labels cause confusion and whether they understand the next action. Use a short task that matches your actual research question.
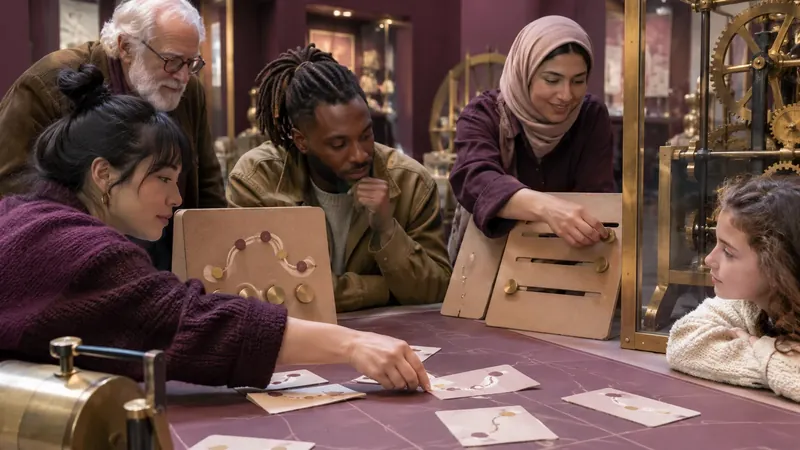
The Service Manual’s guidance on moderated usability testing stresses designing tasks carefully. For your project, keep the wording neutral and avoid giving away the route through the screen. Ask what the person expects to happen, then watch what happens.
Record the observation separately from your explanation. A person stopping at a button is an observation. Your belief that its wording caused the pause is an interpretation to investigate. Keeping both visible helps you choose a sensible revision.
Make A Small Evidence Log
Create a simple record with the date, prototype version, task, observation and proposed change. Use participant codes instead of names where a teacher has agreed that an informal session is appropriate. Keep notes private and remove them when they are no longer needed.
If you change several things at once, say so. You may learn that the new design works better in the next session without knowing which individual change made the difference. You do not need to pretend that a modest project is a controlled experiment.
Include problems that remain unresolved. An honest account of a confusing step, a revision and a further question gives a reviewer more to discuss than a presentation containing only successful screenshots.
Check Who Might Be Left Out
A design that works for you on your phone may be difficult for someone using another device or a different way of interacting. GOV.UK’s alpha research guidance explicitly includes people with access needs and people with limited digital confidence.
For an early school project, begin by asking what assumptions the design makes. Does it depend on colour alone? Is essential information hidden in an image? Can someone understand the labels without knowing the club’s internal vocabulary?
Do not claim accessibility compliance from a quick personal check. Record what you examined and where specialist feedback would be needed. Planning for a wider range of users should shape the question you ask, rather than appear as an unsupported badge on the finished slide.
Your Next Forty Minutes
Spend ten minutes writing the person-task-obstacle sentence and separating evidence from assumptions. Spend the next ten sketching an alternative that uses fewer steps. Use another ten to write a neutral task and decide what you will observe.
In the final ten, identify the permission, information and feedback you need before trying the prototype with anyone else. If those are not yet available, improve the plan instead of inventing a test result to fill the presentation.
End with a clear next action: revise a label, ask a teacher about a session or investigate how the information is maintained. A strong project leaves you able to explain why the next step matters.
Does A No-Code Project Count As Real Work?
It can demonstrate problem definition, design decisions and learning when you show the evidence behind them. Explain what you assembled, what you decided yourself and what you still cannot verify. The tool name alone does not establish the quality of the work.
Do I Need Lots Of Users?
Start with a clear learning question and an appropriate, agreed activity. Describe the actual scope of any feedback you collect. A small exercise can inform a revision without supporting broad claims about demand or future adoption.
What Should Go In My Portfolio?
Show the original question, an early version, one observed difficulty and the reasoning behind a revision. Include the limitations and your own contribution. Protect other people’s information and avoid implying that a prototype is a launched or validated service.
Keep Exploring
Read A Teen’s First AI Project Should Have A Testable Problem for another approach to defining a manageable question. Use What Employers Mean By A Portfolio In Digital Design to explain your decisions. Then try The Project That Revealed More Than A Career Test to reflect on which parts of the work you want to pursue.